Monolithic Domes
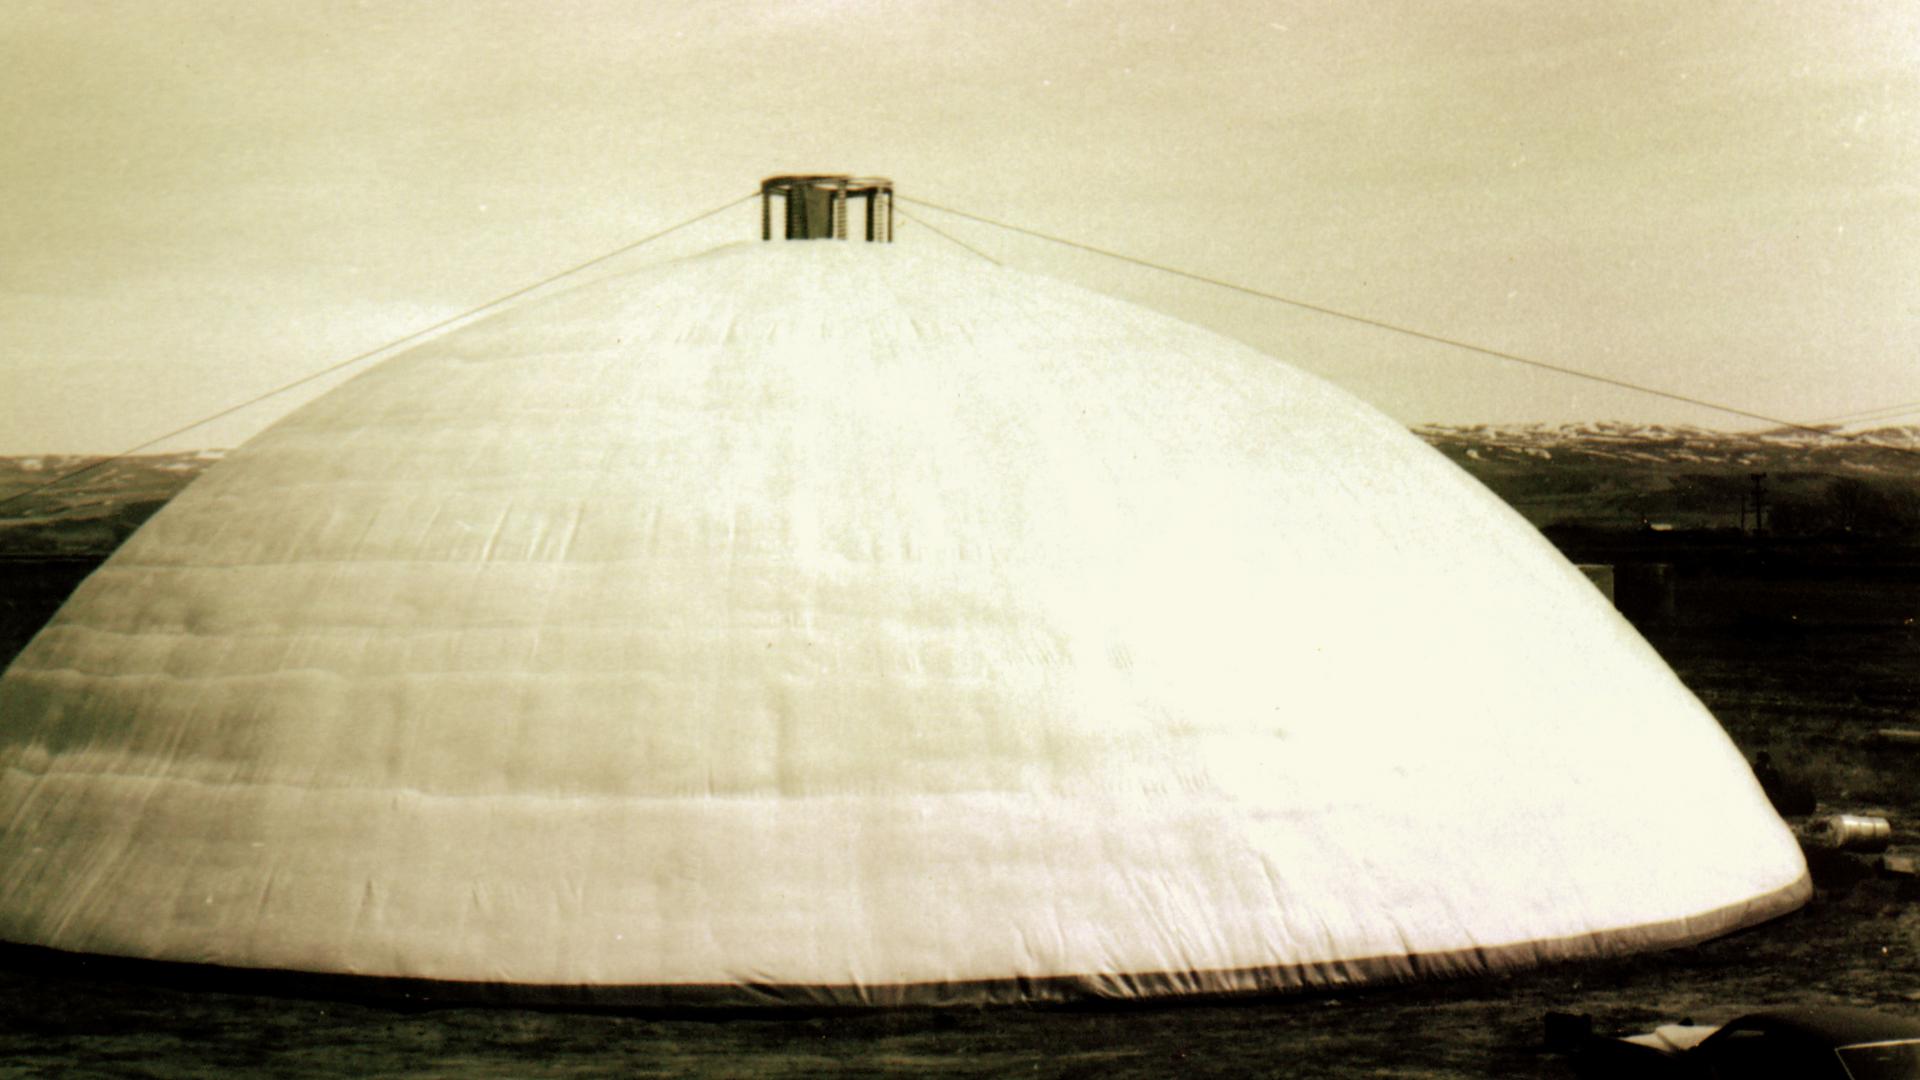
David, Barry and Randy South switched on the inflator fans to construct the first Monolithic Dome in April 1976. It was for a potato storage in Shelley, Idaho—105-feet diameter by 35-feet tall, which was pretty ambitious for their first dome. It changed their lives. They patented the process and started changing the world, one dome at a time.
Today, there are Monolithic Domes throughout the United States and the world—from the Arctic to the tropics—used for schools, storages, churches, homes, gymnasiums, safe rooms and more. There are domes as small as 8-feet to over 340-feet diameter with engineering for even larger structures.
They have withstood major earthquakes, powerful tornadoes, raging fires, direct hits by hurricanes, and fiery explosions. Monolithic Dome owners report energy savings greater than 50 percent over conventional structures. There are no columns or interior supports allowing complete design freedom. And the most surprising feature is the price. It is often less expensive than traditional structures.
To understand how this is all possible, we need to know how to build a Monolithic Dome.
Construction Process
Monolithic Domes come in many shapes and sizes—multiple domes welded together, large domes on tall stem walls, small one-bedroom houses, giant auditoriums. All these share the same, basic construction process originally patented by the South brothers.
Step 1—Ring Beam
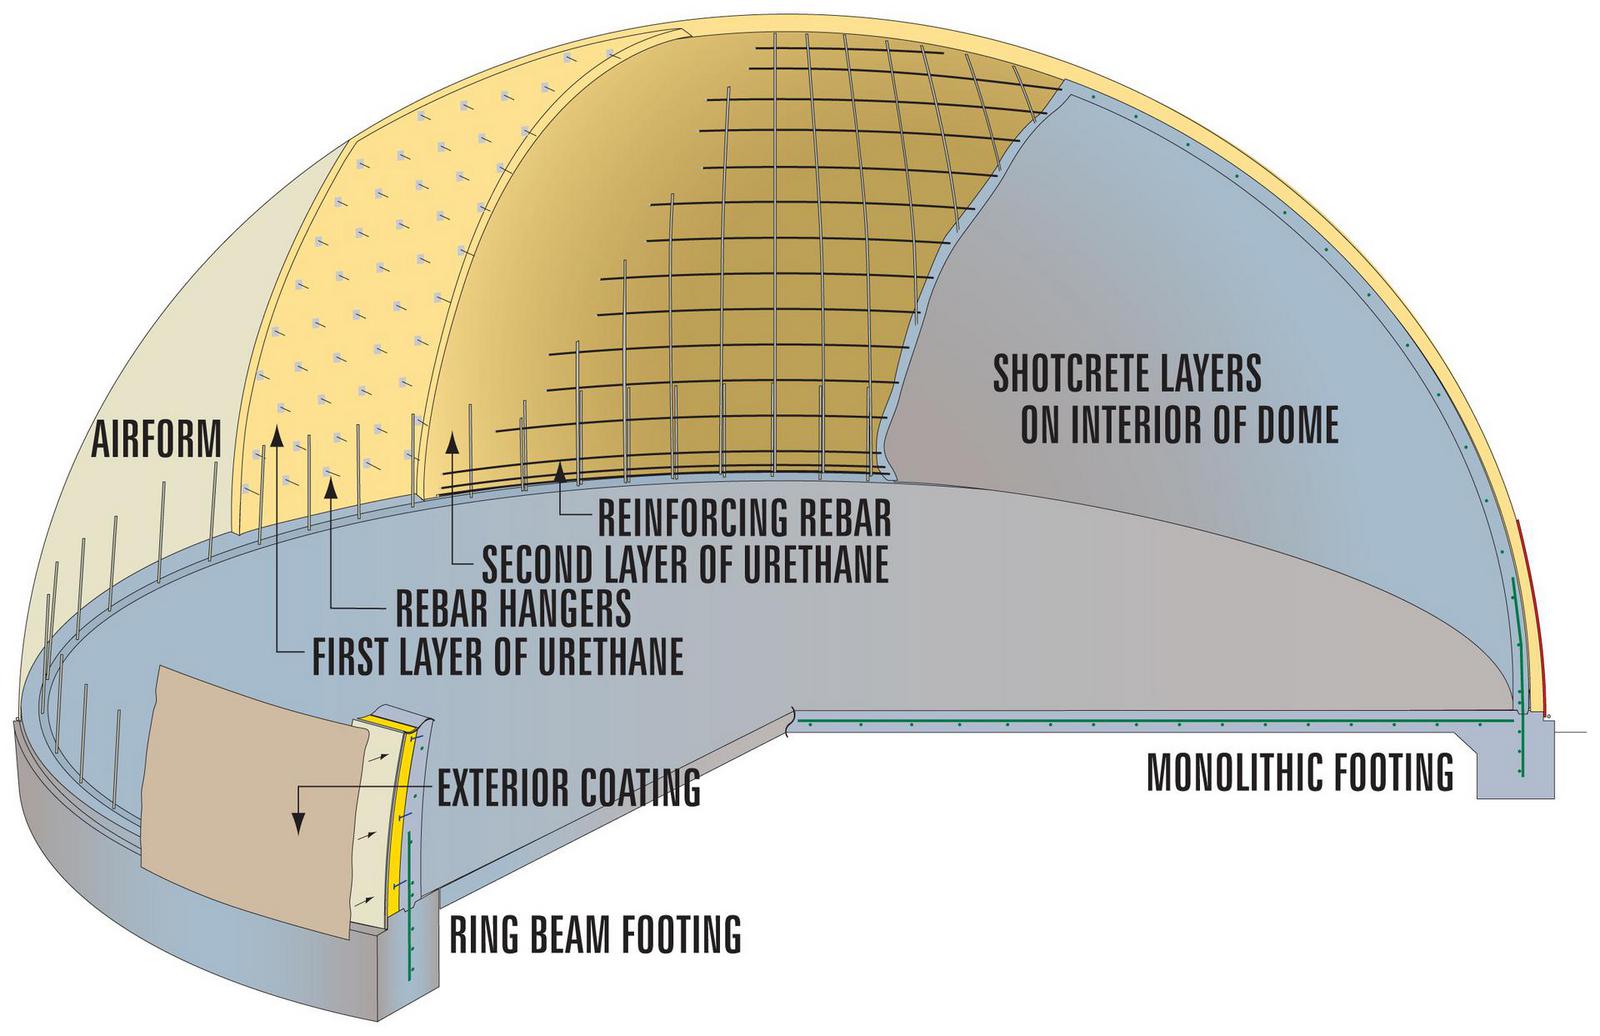
The first step is to create a ring beam of concrete and steel. It can be a simple, circular foundation, a slab on grade floor with an integrated ring, or a tall stem wall with the ring beam seamlessly integrated near the top. Vertical steel reinforcing bars, or rebar, are embedded in the ring beam to be attached later to the steel reinforcing of the dome itself.
Step 2—Airform Membrane
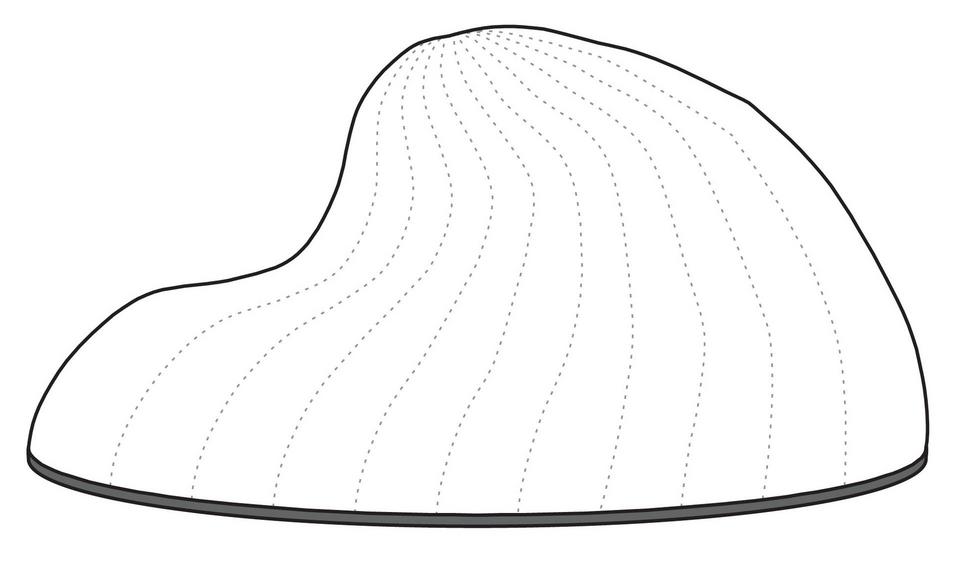
An airform—a tough, PVC coated fabric membrane—is manufactured to the proper size and shape. It is attached to the ring beam. Blower fans inflate the airform to create the shape of the structure to be completed. Fans run throughout construction. The airform membrane becomes the roofing membrane when the dome is finished.
Step 3—Polyurethane Foam
Closed-cell polyurethane foam is applied to the interior surface of the airform. Entrance into the air-structure is made through a double door airlock which helps maintain a constant interior air pressure. Foam is applied in layers with “rebar hangers” embedded in the foam. Typically the foam is around three inches thick but can vary depending on the application.
Step 4—Steel Reinforcing
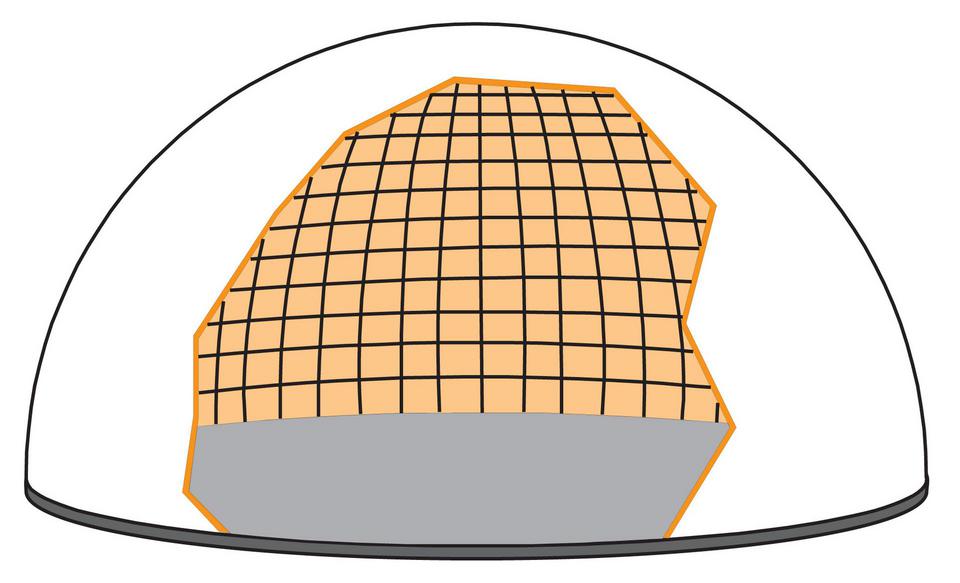
Steel reinforcing rebar is attached to the interior, foamed surface via the embedded rebar hangers. The rebar is laid out in an engineered pattern of hoop (horizontal) and vertical steel bars. Small domes need small diameter bars with wide spacing. Large domes require larger bars with closer spacing. Double mats of rebar are often used for large, load-bearing storages.
Step V: Shotcrete
Shotcrete is a special, sprayable mix of concrete. It is applied to the interior surface of the Monolithic Dome—yes, it’s sprayed overhead in layers and not poured over the form. Small domes typically require three inches of shotcrete. Larger dome requirements vary depending on the size and loads, but ultimately a Monolithic Dome is a thin-shell concrete structure and the amounts are remarkably efficient. The blower fans are shut off after the concrete is set and the Monolithic Dome is complete.
Finished structure
The layers of airform, foam, steel, and concrete form a one-piece—monolithic—thin-shell concrete dome. The airform is the roofing membrane, the foam is the insulation, and the steel and concrete is the structure—a building reversed building process. Don’t laugh, it works.


